


The Minecraft experience has been around for over a decade now, and it shows no signs of slowing down on updates and new content, so now’s as good a time as any to dive into the best Minecraft mods.
Players young and old have ventured into the randomly generated lands for one reason or another. Some want to simply play along the adventure of rags to riches, ending with a fight against the Ender dragon, while others want to create.
No matter what your reasons are for playing, you may find some aspects a bit lacking, or perhaps have run out of things to do. This is where mods come in. Mods can greatly change and affect your Minecraft experience and generally, if there’s something you want to see in Minecraft, there’s probably a mod for it.
Here are some of the best Minecraft mods for version 1.21.5.
How to install Minecraft mods
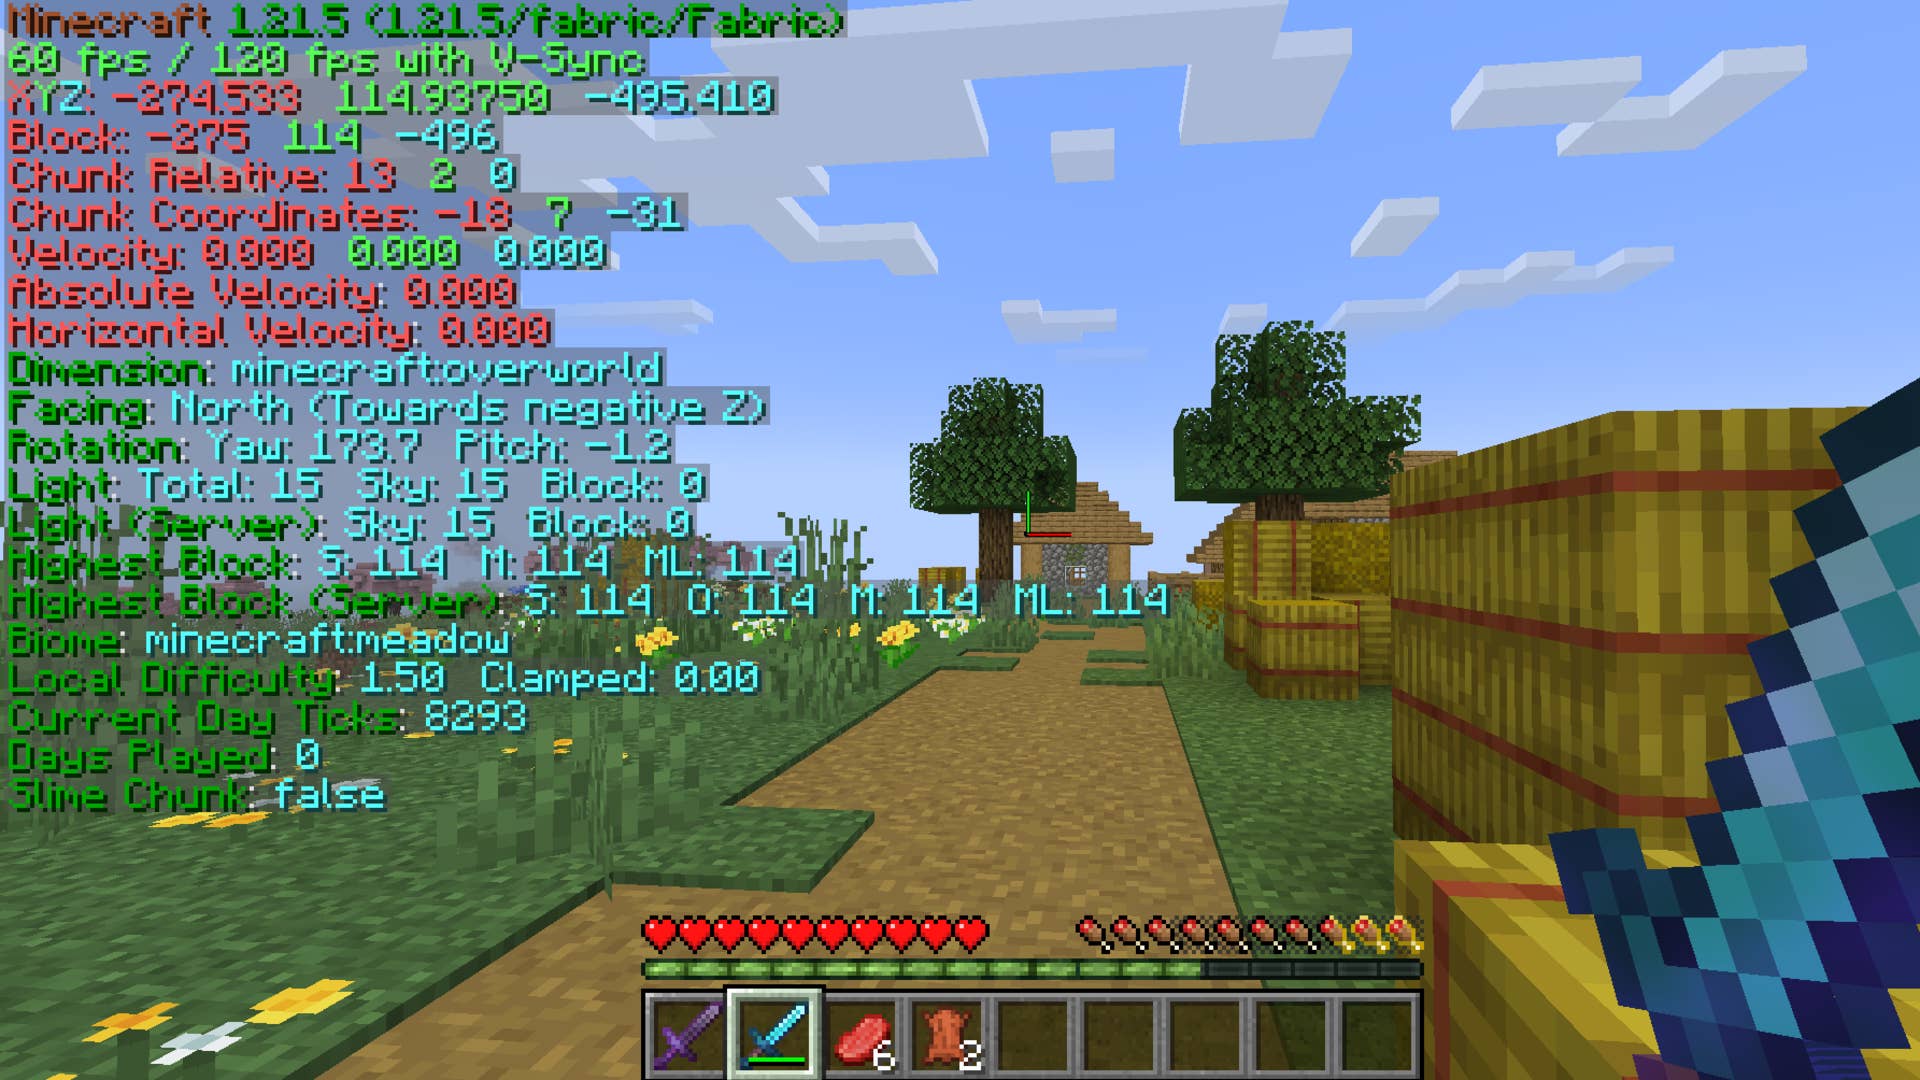
Before you install your Minecraft mods, you must check that the content not only comes from a legitimate source, but also that it is compatible with your version of Minecraft. It’s easy to find out which version of Minecraft you’re running, as it’s found in the bottom left-hand corner of the game’s home screen (see the below screenshot).
In this particular guide, we’re going to walk you through how to manually install mods using a mod loader known as Fabric. We’ll show you how to manually install mods using Fabric, and will also show you how to use Modrinth – a mod manager with a dedicated app, like CurseForge – so you can keep all your mods organised and up to date.
Installing Minecraft mods manually with Fabric
The below process – manually installing mods using Fabric – can be repeated for other trusted mod loaders, or you can instead use the CurseForge or Modrinth app to install and manage mods for you (we explain how to do this below). We will also be using the Modrinth website to recommend mods.
First things first, you’ll need to install Fabric and run it with Minecraft closed; this adds the Fabric mod loader to your Minecraft Launcher.
Secondly, if Fabric doesn’t prompt you to do so upon installing it, you want to manually download the Fabric API from CurseForge or Modrinth and place it (it is an executable .jar file) inside of your Minecraft mods folder. You should find this folder under the following:
C:>Users>YourUser>AppData>Roaming>.minecraft
Up next, you then want to manually download any mods you wish to play with, but a bit of housekeeping is due first: take caution when installing mod files, and be sure they’re from a source you trust or are rated highly by the community. In this guide, we’re only recommending mods from CurseForge and Modrinth that we have personally tested, but there are plenty of other Minecraft mod directories out there to browse.
Secondly, you want to make sure that any mods you download are compatible with your current version of Minecraft (mentioned above), but also compatible with the Fabric mod loader. Upon finding a mod on CurseForge or Modrinth and pressing ‘Download’, you will be prompted to choose a compatible mod loader (or platform); Fabric may not always be available, and in this instance, you’ll have to find a different mod or install a different, compatible mod loader altogether.
Once you find a compatible mod that you wish to install, such as the AppleSkin mod, open the mod page and press ‘Download’. Under the ‘All Mod Loaders’ drop-down, press ‘Fabric’, then press ‘Download File’ to download your mod, which should be an executable .jar file.
Next, you need to move this .jar file from your downloads folder to your Minecraft mods folder (mentioned above).
When you’re done adding mods to this folder, you can open the Minecraft Launcher. Before hitting ‘Play’, however, you want to double check that the version – shown to the left of the ‘Play’ button in the Java launcher – is the modded ‘Fabric’ version of the game. Provided that’s correct, you can hit ‘Play’ and finally enjoy using your mods.

The main thing to note when installing your Minecraft mods this way is that you will need to manually update your mods – and Fabric – whenever there are new updates to Minecraft. Bear that in mind in case things suddenly stop working, and remember to regularly back up your world.
Installing Minecraft mods with Fabric and Modrinth
As mentioned above, Modrinth is not only a database for discovering Minecraft mods. It’s also a mod manager with an app that can be used to install mods, manage them, and update them all in one place without much hassle. If you’ve used CurseForge before, think of it as very similar to that (though I personally find Modrinth that little bit easier to use).
To install mods using the Modrinth loader, you must first install the Modrinth app directly from the website. Once downloaded, run the installation file to get the app set up, and then login to your Microsoft account in the upper right-hand corner of the app.
Next, select your ‘Library’ from the sidebar on the left-hand side of the app, and choose to add a new instance. Here, you’ll want to select the correct loader and version you’re using – which should be Fabric, and (at the time of writing) 1.21.5 – then name your instance, and hit ‘Create’.

An instance of your game, using the Fabric loader, will then have been created. Select it, and all you need to do next is hit ‘Install Content’ to begin browsing and installing mods – and make sure to install the Fabric API here if you haven’t already, as multiple Fabric mods require it.
Once you have some mods installed that you’re happy with and you’re ready to play, open the instance in Modrinth and press ‘Play’ in the upper right-hand corner. This launches the game via Modrinth, rather than the dedicated Minecraft Launcher.
Now, all being well, you should be able to boot up your world and begin playing with mods! I highly recommend installing and testing a single mod at a time, to make sure that all your mods work and aren’t conflicting with one another, as there’s nothing worse than installing 20+ mods and then not working because one or two of the mods are outdated. Bear this in mind!
Modrinth will automatically update your mods, and allows you to quickly toggle specific mods on and off, if you decide you want to play with only some of the mods you have installed or need to identify any ‘problem’ mods.
Differences between Minecraft mods and mod packs
The difference between a mod and a mod pack is simple in Minecraft, but it’s worth noting.
A mod generally changes or modifies one aspect of Minecraft, while a mod pack tends to be a bundle of many mods collected together. Often, these have been combined as they add more to the experience and generally run alongside each other without trouble.
A mod pack will also take up much more memory and HDD space compared to a mod on its own.
There are also texture packs and shaders that can be installed for Minecraft. These will modify your game’s graphics and appearance, rather than modifying the gameplay itself, and are installed a little differently to mods. Bear this in mind!
The best Minecraft mods for 1.21.5
Sodium – Faster Rendering
One of the first mods I used to often install for my annual Minecraft phase is OptiFine, which optimises your game and allows you to install HD texture packs and shaders. That said, to run OptiFine with the Fabric mod loader, you must install OptiFabric, which is currently outdated for version 1.21.5 of Minecraft.
A solid, if not better, alternative is the Sodium mod. If you’re tired of your worlds taking eons to render like I am, then the Sodium mod for Minecraft was made for you. This mod helps worlds to render three times faster than usual, improves frame rates further, and fixes graphical issues while ensuring your game remains stable!
You can still install HD texture packs with Sodium installed, but will need to bear in mind that some – which might’ve been compatible with OptiFine – may not be compatible with Sodium. You also can’t install shaders using Sodium alone, however, which is where the below mod comes in.
Iris Shaders – Shader Pack Compatibility
To make up for the fact that Sodium does not allow the installation of shaders in Minecraft, you’ll want to install the Iris Shaders mod if making your game all pretty and shiny is your thing.
Then, open your in-game menu while playing Minecraft. Select ‘Options’ and ‘Video Settings’, and then select ‘Shader Packs’. Here, you’ll be able to open your ‘shaderpacks’ folder – which is where you should install any shader packs to – and select exactly which pre-installed shaders you wish to use.

Jade – Information HUD
The Jade mod is a great client-sided mod that makes the whole Minecraft experience a little more beginner-friendly by providing information about what you’re looking at. Simply put, with the mod toggled on, you can look at a block to be told exactly what it is. You can also look at mobs to be told what they are and what their health is.
If you run this alongside the Just Enough Items mod mentioned below (which right now, you’ll only be able to do on version 1.21.1 of Minecraft or lower), you can also use keybinds to look at the recipes and different uses for the block or item you’re looking at too. Nice!
Roughly Enough Items – Item and Recipe Viewer
At the time of writing, the Roughly Enough Items mod is compatible with version 1.21.4 of Minecraft, making it slightly outdated, but I’m mentioning it here anyway on the off chance it’s updated.
This mod functions a lot like the ever-popular Just Enough Items mod (which also sadly hasn’t been updated since 1.21.1), providing players with the ability to view all items and recipes in the game. Long gone are the days of remembering the recipes for crafting various blocks, as this mod helps you out with all of that.
AppleSkin – Food HUD Improvements
AppleSkin is a very basic mod, but one that can help you with efficient food consumption, showing you the value of your food when viewing it in your inventory, as well as details of your exhaustion and food saturation levels on your HUD’s hunger bar.
When your character is hungry, and you hold an edible item, the food HUD will flash to show you exactly how much hunger and saturation that piece of food will restore. It’ll also show what amount of HP the food will restore! It’s not game-changing by any means, but it is good for assessing – and not wasting – what food to take down to the mines with you and so forth.

Enchantment Lore – Enchantment Descriptions
The Enchantment Lore mod allows you to open up enchanted books and read them, detailing the lore surrounding the specific enchantment as well as a description of what that enchantment does. This mod is incredibly useful for those learning what each enchantment can be used for, and the added bit of lore is a nice touch.
Visuality – Enhanced Particles
Visuality is a graphical enhancement mod that adds various particles to Minecraft, making things that little bit more visually pleasing and satisfying. Slime mobs will scatter slimy particles when moving, while skeletons scatter bones (not just the ones they drop!), and you can even expect to see crystals sparkling away inside of caves.

Held Item Tooltips
Another simple mod that can make all the difference is the Held Items Tooltips mod. This mod will show tooltips above your HUD’s hotbar for the item you’re currently holding, describing what the item does and any important stats. For example, if you’re holding an enchanted weapon, the mod will show you – on your HUD – what that enchantment is, the weapon’s stats, how much durability your weapon has left, and so forth.
This mod also requires the installation of the Puzzles Lib mod.
Xaero’s Minimap
At the time of writing, Xaero’s Minimap is only compatible with version 1.21.4 of Minecraft and below, but I doubt it’ll be long before the mod is brought fully up to date! This ever-popular mod does exactly what you’d expect, and provides a small, customisable minimap in the corner of your screen.
You can choose how the minimap looks, and exactly what it displays. Want a minimap to help prevent you from getting lost? Xaero’s Minimap does just that, but you can also opt to have all mobs – both friendly and hostile – shown on the map too, giving you a good idea of any nearby POIs to loot, mobs to slay for food, or enemies to be wary of.

JourneyMap
Another alternative Minecraft mapping mod you can use instead of Xaero’s Minimap is JourneyMap, which allows you to map your world in real-time as you explore, and allows you to view your map in-browser if you wish. You can also customise it as you see fit, choosing whether or not hostile and friendly mobs are shown and so forth.
Upon installing the mod, a minimap appears in the top right-hand corner of your screen that you can toggle using ‘M’. To change how it appears and what’s shown on it, press ‘J’ to full-screen the map and select ‘Options’.
Simple Voice Chat
This particular mod is great for those playing Minecraft with friends, with the mod ultimately adding voice chat to the game. What’s particularly great about it is the ability to use proximity chat in your world or your servers, which really adds to some of the smaller, spookier Minecraft experiences you can embark on.
It’s also got plenty of useful features such as noise suppression, push to talk support, and the ability to individually adjust the volume of your friends, so you need not worry about eating down the mic or being deafened by your friends screaming at the Enderman and so forth.
BetterF3 – Improved Debug Menu
If you’ve played Minecraft, you’ll know that pressing F3 and opening the debug menu to check your coordinates or what biome you’re in can be a little overwhelming. You’re immediately shown a bunch of text, some of it not necessarily being readable if you’re soaring through the sky or a snowy biome, and skimming through it all to check where you currently are is just a slight pain.
BetterF3 does away with this, making the debug HUD more user-friendly and much easier to read. It’s also customisable, and comes in multiple languages.
It’s also worth noting that if you have the Cloth Config mod installed (a mod necessary for installing some other mods), you can use the keyboard shortcut ‘F3 + M’ to customise the debug menu to your hearts content.
Default HD 128x – HD Textures
Default HD 128x is a HD texture pack for Minecraft, meaning it won’t actually modify your gameplay whatsoever. Instead, it will simply do away with Minecraft’s current textures in favour of highly detailed 128x versions of them. All blocks are just like vanilla Minecraft, but with a little bit of a facelift!
Pair this texture pack with one of your favourite shader packs – using Iris Shaders – for a basic but beautiful overhaul to Minecraft’s visuals.
You could also try the Faithful x64 texture pack if 128x is a little too shiny and smooth for you. It’s my personal favourite!
After installing a texture pack, make sure to turn it on. In-game, open ‘Options’ and select ‘Resource Packs’, where you can choose which installed texture packs you have enabled.

Bare Bones – Trailer-Style Textures
Have you ever watched a trailer for Minecraft and wondered what it’s like to play the game in the same visual style as them? Well, Bare Bones is another texture pack that allows you to do just this, making vanilla Minecraft’s textures much smoother and brighter. It’s not for everyone, but if you’re looking for a slight overhaul to your vanilla experience, it’s worth trying out!
Wavey Capes – Non-Static Capes
Wavey Capes is a simple mod that does what it says on the tin; it makes those otherwise static capes actually move and function like a real cape. Great for those who want to show off their hard-earned capes in style!

Nature’s Compass – Locate Biomes Easily
The Nature’s Compass mod is great for tracking down biomes you really want to visit but haven’t been able to find while naturally exploring your Minecraft world. Think of rare biomes such as mushroom forests or cherry groves. With Nature’s Compass, you can easily look the biome up, see where it is in your world, and even teleport directly to it without needing to mess with any commands.
To use this mod, you will need to craft the Nature’s Compass using a compass, saplings, and logs.
Explorer’s Compass – Locate Structures Easily
The Explorer’s Compass mod functions just like the Nature’s Compass mod, except rather than locating biomes, it allows you to quickly locate structures – such as Ocean Monuments or Woodland Mansions – and teleport to them.
To use this mod, you will need to craft the Explorer’s Compass using a compass, spider webs, and cracked stone bricks.
Dungeons and Taverns – New Immersive Structures
The Dungeons and Taverns mod adds some new structures – such as taverns, fire watch towers, and villager hideouts – to Minecraft that all seamlessly blend in with other vanilla structures. It’s one way to spruce up your exploration, adding some exciting new discoveries that don’t feel too out of place. It also adds some new enchantments!

Terralith – New Biomes and Structures
Terralith is a huge mod. It updates existing biomes, adds almost 100 new biomes, and introduces immersive structures to make those biomes feel a little bit lived-in. These biomes span various aesthetics, from realism to light fantasy, with tall spires to be found in the iciest of biomes.
If you fancy your exploration opportunities completely being overhauled, give Terralith a go! This mod is also compatible with Nature’s Compass and Explorer’s Compass, meaning you can use both of those tools to help you explore the added biomes and structures!
Geophilic – Subtle Immersive Biome Tweaks
Now, if you fancy a slight overhaul to your Minecraft biomes, but don’t really fancy experimenting with something quite as intense as Terralith, then the Geophilic mod might be better for you.
This graphical overhaul mod is subtle, reworking all of vanilla Minecraft’s biomes to be the slightest bit different. It adds fallen-down trees, boulders, bushes, and a bunch of other minor things that keep the vanilla feel to Minecraft while also making biomes that little bit more immersive.
It also makes trees taller, which is the highlight, so you need not worry about running into them regularly!
Villager Names
Fancy making things even more immersive? Try the Villager Names mod, a simple mod which gives all villager mobs their own unique name or a name of your choice. Using this mod, you actually have a name to refer to each of your hard-working villagers with. It’s about time!
Serene Seasons – Adds Seasons
Another mod that will help with your Minecraft immersion is Serene Seasons, which adds seasonal effects to Minecraft. Enjoy spring, summer, autumn, and winter wherever you are in your world, with the mod changing grass and foliage colours, temperatures, and adding snowfall (in areas that otherwise wouldn’t get snowfall!) depending on what season you’re currently in.

Waystones – Teleportation Waypoints
A quality of life mod, Waystones allows you to set up – you guessed it – waystones that you and other players can teleport to if needed. This is ideal for those who want to be able to quickly teleport back to base, or between multiple bases, or for setting up a safe point to return to while out exploring.
Animal Feeding Trough – Animals Feed Themselves
Another simple mod that is incredibly useful to those who enjoy farming in Minecraft is the Animal Feeding Trough mod. With this mod, long gone are the days of regularly feeding your livestock by hand or setting up machines to do it for you. Instead, animals will feed themselves when hungry, and breed with one another without your assistance!
Just make sure your farms don’t become overrun too quickly…
Monsters in the Closet – Highlights Mobs Preventing Sleep
Have you ever jumped into bed at night in Minecraft, hoping to sleep away the hostile mobs and continue your adventure, only to be notified that you can’t sleep with enemies nearby? Have you then tried to take down every nearby enemy possible so you can get a wink of sleep, only to be told there are still enemies nearby?
Well, I have. More than once. Though, the Monsters in the Closet mod attempts to help with that by highlighting any hostile mobs that are preventing you from sleeping so you can quickly take care of them and get to bed. Another simple but useful mod!
That said, the mod will only highlight the offending mob for three seconds at a time, as to not make things too easy.

Trading Post – Simultaneous Trading with All Villagers
The Trading Post mod introduces the trading post block, a placeable block that you can interact with to trade with every single villager in the area all at once. This saves you running around each and every villager, and makes trading much more efficient.
That’s it for the best Minecraft mods, but we’ll be sure to update this page with more ways of enhancing or revamping your Minecraft experience as we discover them, and as more mods are updated for version 1.21.5 of Minecraft.
For more on Minecraft, be sure to check out our comprehensive list of the best Minecraft seeds for 1.21.5, as well as the best Minecraft skins.